


If you are new to ESL Brains e-lesson plans, or have just started teaching online and don’t have much experience with Google Slides, you may find this tutorial useful.
We’d like to share a few tips with you on how to use our e-lesson plans efficiently, as well as point out some differences and similarities between the structure of our worksheets and e-lessons. Hopefully, this will help you make the transition to teaching online with ESL Brains easier and smoother.
Watch or read below!
Let’s start from the beginning!
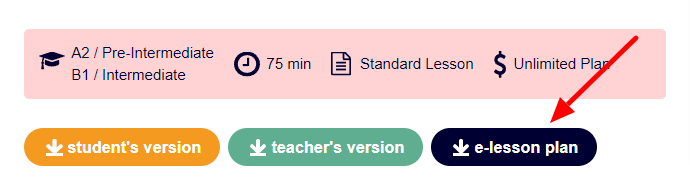
Click the ‘e-lesson plan’ button on our website and it will open as a presentation in Google Slides. You can download the presentation as a PowerPoint if you need to edit the slides, but you may have to adjust the content, as some of it may be out of place. That’s why we recommend presenting online in Google Slides!
Key features you need to know
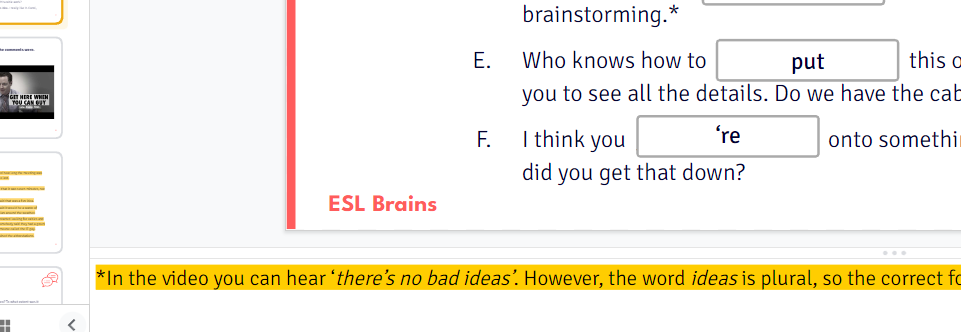
If you’ve been using ESL Brains worksheets, then you’ll already be familiar with comments for teachers in the teacher’s versions (in red font). We use them to suggest extra ideas or alternative ways of approaching a task, explain the meaning of difficult vocabulary or point out language curiosities and extra resources. You’ll find all these extra comments highlighted in yellow in speaker notes at the bottom of the slide.
Speaker notes is the space where we also place timestamps to help you find the answers to some questions about the videos. Occasionally, you may want to replay the video to let students hear the answers again, or even ask them to watch it again at home and write down exactly where the answers are. Some of the answers, which aren’t visible for students on the slides, are visible only for teachers in the speaker notes.
A typical ESL Brains e-lesson plan is very similar to our worksheets in terms of its structure. After an introductory slide with the lesson title, you’ll find the exercises arranged in the same order as in the worksheets, separated by red section slides.
Section slides not only introduce the next task, but they may also:
- give teachers extra time to prepare students for the transition to another activity and cool off,
- include a question to discuss (e.g. ‘How much do you remember about reported speech?’) which you can use as a warm-up before the next activity,
- give you the chance to add something extra yourself – maybe your own question or a favourite short activity related to what follows – or refer back to what you’ve just finished and answer students’ questions.
Every new task starts on a separate slide and is followed by a corresponding slide with the answers.
In our e-lesson plans you’ll often see animations, which we use to reveal the correct answers one by one (most of the time in red boxes or as phrases highlighted in yellow). This way, we give teachers a chance to elicit answers from students first, allowing them some time to make and discuss predictions, and also help focus their attention on specific parts of the lesson. You need to be in presentation mode to be able to see them (check out the last paragraph!).
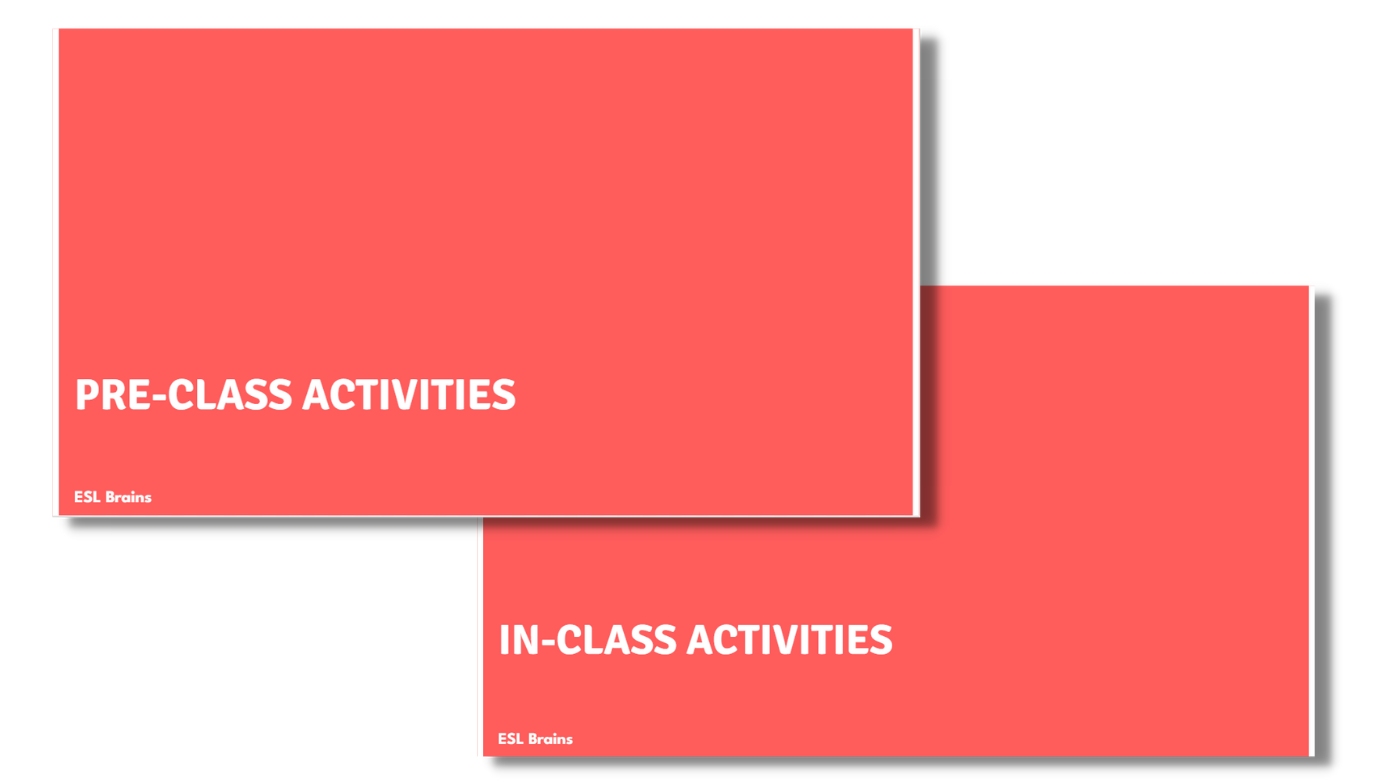
Whilst guiding teachers through ESL Brains online materials, we mustn’t forget to mention our flipped lessons. A flipped classroom uses a blended learning teaching model where students need to get acquainted with some theory, watch a video or study new vocabulary on their own before coming to class. To help teachers organise their online work, our flipped e-lesson plans are divided into pre-class and in-class activities. You can easily see where each section starts thanks to the section slides in the skipped slides mode which are visible only to teachers and skipped during the presentation. They show you which activities we suggest setting as homework before teaching the lesson, and which should be done in class.
You can find more information about flipped classroom in our article:
How to use Flipped Classroom for teaching English
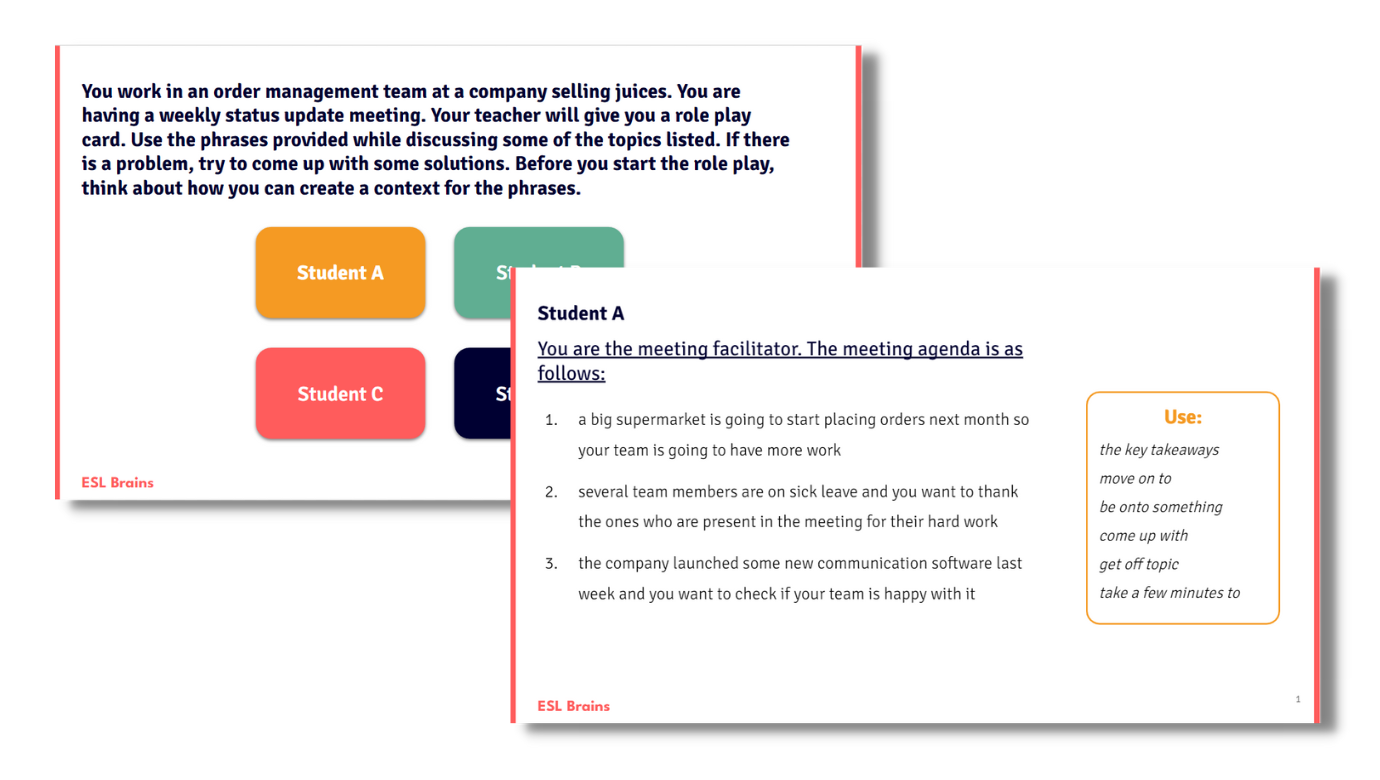
As we all know how much students enjoy games and group activities at the end of a lesson, we’ve included interactive versions in our e-lesson plans. For role-play activities, instead of giving a set of cards to each pair, teachers use a role-play slide with buttons (like the one below). You only need to assign one set to each pair and make sure everyone knows which button to click, or send them direct links to role cards. Then, students follow the instructions on a slide which opens in a new window (an equivalent of a role-play card) and complete the task in a breakout room. The interactive role-play cards aren’t visible in the presentation.
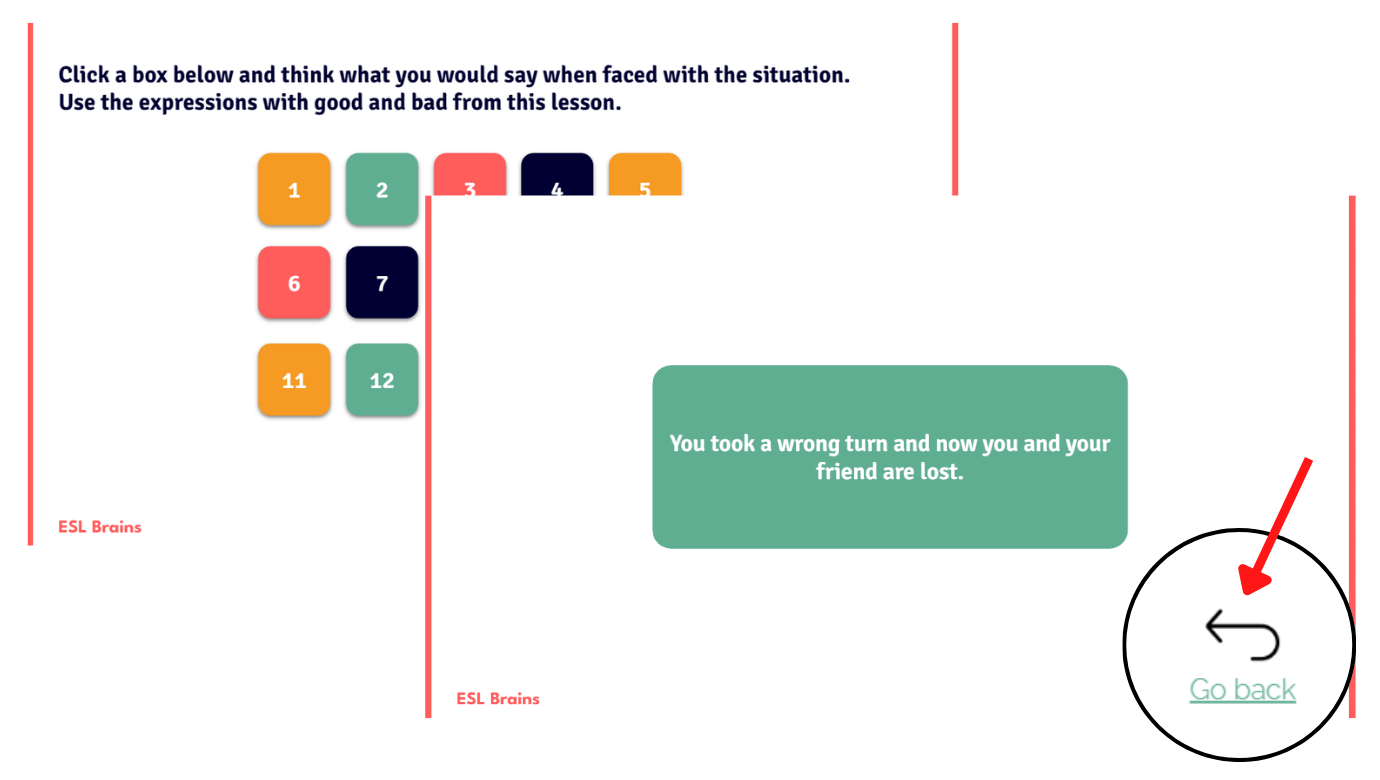
In our e-lessons, speaking practice can also take place as a whole-class activity. In turns, students click a box and do the speaking activity, following the instructions on a new slide linked to that box. Then, they click the ‘Go back’ button in the bottom right corner which takes them back to the main slide.
Two different modes of using e-lesson plans
Depending on your personal preferences, you can choose to use our e-lesson plans in two ways: in edit or presentation mode. There are advantages and disadvantages of each. So, what’s the difference?
Edit mode is what you see when you first open a presentation in Google Slides. It allows you to create and make changes to the slides while presenting. You should use it when you want students to complete the activity you’re teaching by moving content or typing into the presentation (just share your screen with them or even give them control over your screen and let them do it themselves). It also allows you to see speaker notes at all times.
Importantly, if you want to use our presentation in edit mode you must make your own copy of it first. If you don’t know how to do this, see the speaker notes on the first slide of any e-lesson plan for instructions.
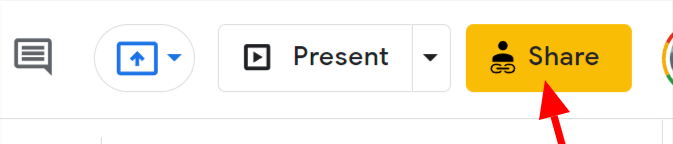
By clicking ‘Present’ in the top right corner you enter presentation mode.
This is where information is presented in full screen, without any slides on the side. You can play videos and listen to audio in presentation mode, but students can’t edit any activities or type in their answers. They’ll be able to see the animations, though, which isn’t possible in edit mode.
To be able to see speaker notes, you need to use Presenter view. To do this, click the ‘Down’ arrow on the ‘Present’ button, choose ‘Presenter view’ and ‘Speaker notes’. This way, your students will see only what’s on the slides, while you’ll have access to the comments for teachers in speaker notes. Presentation mode is also great if you want to share information with your students.
Ready to start exploring ESL Brains e-lesson plans? Now’s the time to take the leap!
Share your questions with us and, above all, enjoy your online classes!


Thank you for the clear instructions. They were soo helpful!